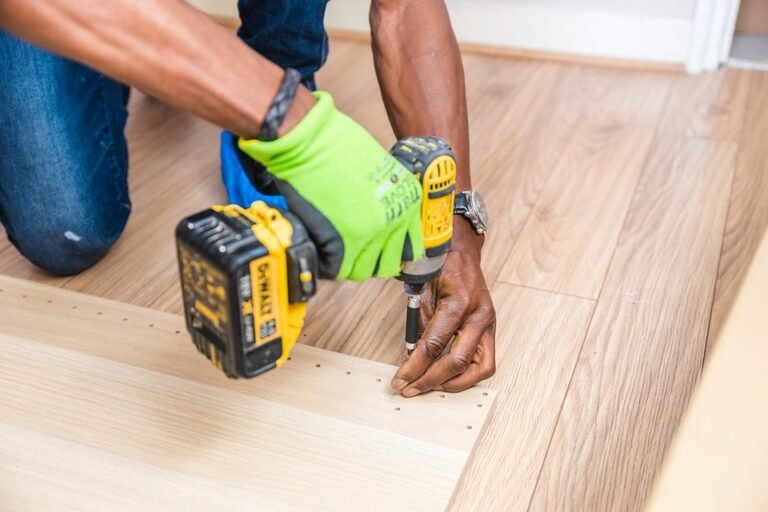
Are you looking to enhance your living space with practical and stylish storage solutions? If so, building custom shelving may be the perfect project for your home. Shelves provide more than just a place to store items; they can serve as functional decor that showcases your personality and enhances the overall aesthetic of your space. In this guide, we’ll take you through the essential steps to create your own bespoke shelving, tailored to meet your needs and style preferences.
Understanding the Benefits of Custom Shelving
Before embarking on your shelving journey, it’s crucial to understand why custom shelves are a wise addition to your home.
- Maximize Space: Custom shelving allows you to utilize every inch of available wall space, making it perfect for small rooms.
- Personalization: Create shelves that reflect your unique style and decor, from minimalist modern to rustic farmhouse.
- Versatile Use: Whether for books, decor, or storage, custom shelves can be designed to serve multiple purposes.
- Sustainability: DIY shelving can be an eco-friendly option, utilizing reclaimed wood or materials you have on hand.
Planning Your Project
Every successful DIY project starts with thoughtful planning. Here’s how to set the groundwork for your shelving.
Define Your Purpose
Consider what you intend to store or display on your shelves. The purpose will dictate the size, depth, and design. For example, heavy books require sturdier shelves than decorative items.
Decide on the Location
Identify where you want to install the shelves. Consider:
- Room Function: Is it a living room, home office, or bedroom? Each room has different needs.
- Access: Ensure the shelves are easily accessible for usage while maintaining aesthetic appeal.
- Surrounding Decor: Choose a location that complements existing furniture and walls.
Measure and Sketch
Accurate measurements are fundamental. Here’s how to proceed:
- Measure the height, width, and depth of the proposed shelving area.
- Sketch a rough design, noting the number of shelves, spacing between them, and any additional features (like brackets or backings).
Choosing Materials
Your choice of materials will influence the aesthetic and functionality of your shelving unit.
Types of Wood
Depending on your desired look and budget, consider the following woods:
- Pine: Affordable and lightweight, perfect for beginners.
- Birch: Strong and smooth with a fine grain, giving a modern feel.
- Oak: Durable and timeless; ideal for high-traffic areas.
- Reclaimed Wood: Offers character and sustainability, ideal for rustic designs.
Hardware and Accessories
Don’t overlook essential hardware:
- Brackets: Ensure that they match your design style and support your shelf’s weight.
- Wall Anchors: Necessary for securing shelves in drywall or other weak materials.
- Finishes: Paint, stain, or sealant to protect and enhance the wood.
Construction Process
Once your planning is complete, it’s time to bring your vision to life. Follow these steps for a smooth building experience.
Gather Your Tools
You’ll need:
- Measuring tape
- Level
- Drill and drill bits
- Saw (circular or miter)
- Screwdriver
- Sander
- Paintbrush or roller (if finishing)
Cutting the Wood
Using your measurements, cut your wood to size. Don’t rush the process; precise cuts will ensure a polished final product.
Assembling the Shelves
1. Begin by sanding your cut wood for smooth edges.
2. Attach brackets to the wall using a level to ensure perfect alignment.
3. Fix the shelves to the brackets securely.
4. If you’re adding a back panel or additional support, cut and fasten it accordingly.
Finishing Touches
Once you’ve assembled the shelving unit, it’s time to finish it with paint, stain, or sealant.
- Staining: Enhances the natural wood grain and provides color.
- Painting: Allows you to match or contrast décor, but it may hide the wood grain.
- Sealing: Protects against scratches and moisture.
Common Mistakes to Avoid
As with any DIY project, certain pitfalls can set you back. Keep these in mind:
- Skipping Measurements: Always double-check before cutting.
- Poor Weight Distribution: Ensure shelves can support their intended load.
- Neglecting to Use Wall Anchors: This is vital for stability.
Personalizing Your Shelving
Custom shelving is about making a space your own. Consider adding:
- Decorative items like plants, framed photos, or art pieces.
- Functionality by incorporating woven baskets for smaller items.
- Adjustable shelving options if you anticipate needing flexibility.
Conclusion
Building custom shelving is not only a practical solution to organizing your belongings, but it also offers a unique chance to showcase your personal style. By following the steps outlined above, you can create a shelving system that perfectly fits your needs while enhancing the charm of your space. A little planning and creativity are all it takes to bring your vision to life!
FAQ
Can I build shelving without using power tools?
While you can build shelving using hand tools, power tools can make the process quicker and easier. If you choose to use hand tools, be prepared for a more labor-intensive process.
How do I determine the right height for my custom shelves?
The right height depends on what you plan to store or display. A common guideline is to place the bottom shelf about 12 to 18 inches off the ground for easy access.
What type of finish should I use for a kitchen shelving unit?
For kitchen shelving, a durable sealant or varnish is recommended to protect against moisture and make cleaning easier.
How can I make my shelves look more decorative?
Consider different materials for accent pieces, such as metal brackets, or adding decorative elements like fairy lights or wallpaper backing to create visual interest.