Introduction
Creating your own furniture can be an incredibly rewarding endeavor, allowing you to customize pieces to your precise needs and style while expressing your creativity. Whether you’re looking to build something as small as a side table or as large as a bookcase, understanding the key elements of DIY furniture building is essential. This guide provides essential insights that will help you embark on your furniture-making journey with confidence.
Understand Your Space and Needs
Before diving into building furniture, it’s important to evaluate your space and what you need. Consider the following:
- Measurements: Take accurate measurements of the area where the furniture will go. Ensure that your piece will fit well and leave enough room for movement.
- Functionality: Determine how the furniture will be used. A coffee table needs to be lower than a dining table, so context matters.
- Style: Think about the overall aesthetic of your home. Do you prefer modern minimalism, rustic charm, or vintage elegance?
Choose Appropriate Materials
Selecting the right materials is crucial for durability, aesthetics, and functionality. Here are some materials to consider:
Wood
Solid hardwoods like oak, maple, and cherry are durable and often preferred for their beauty. Plywood can be a more affordable option and can be finished nicely.
Hardware
Don’t overlook the importance of quality screws, hinges, and brackets. Good hardware can make a significant difference in the sturdiness and longevity of your furniture.
Finishes
Whether you choose paint, stain, or sealant, the finish affects the final look and protectiveness of the piece. Consider environmentally friendly options for better indoor air quality.
Gather Proper Tools
Equipping yourself with the right tools will simplify the building process and yield better results. Key tools include:
- Measuring Tape: Accurate measurement is the foundation of your project.
- Saw: A circular saw is versatile, but a miter saw can offer more precise cuts.
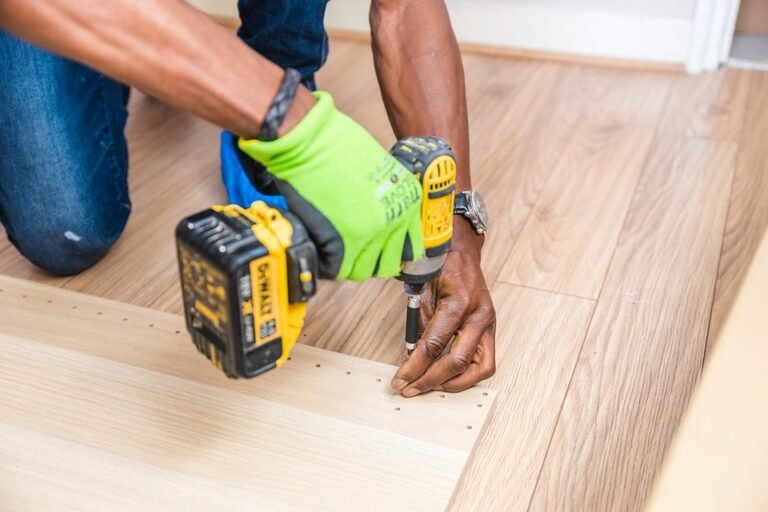
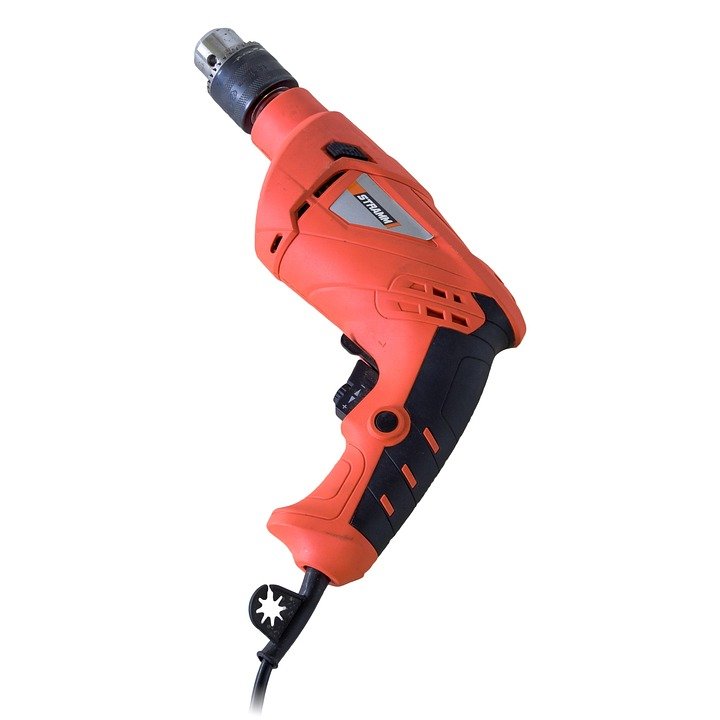
- Drill: Essential for creating holes for screws and fittings.
- Sander: Smooths surfaces for a professional finish.
- Clamps: Helps keep your pieces secure during assembly.
Learn Basic Techniques
Before starting a large project, familiarize yourself with essential woodworking techniques:
Cutting
Practice cutting wood at various angles. Precision is key for joints to fit tightly.
Joining
Learn different joinery methods like doweling, mortise and tenon, or pocket holes. Each has its advantages depending on your project.
Finishing
Look into sanding techniques and the different types of finishes available, such as oil or polyurethane. Each can dramatically alter the look and feel of the final product.
Sketch Your Design
A blueprint or sketch can help visualize your project and streamline the building process. Consider these points:
- Proportions: Get the dimensions right before you start cutting wood.
- Details: Think through the features you want, such as drawers or shelves.
- Adjustments: Be prepared to make modifications as you go, based on material size or shape.
Start Small and Build Your Skills
Don’t jump right into an elaborate piece. Start with smaller projects to build up your craftsmanship. A simple stool or small shelf can help you gain confidence in your abilities.
Stay Organized Throughout the Process
Organization is key to a successful build. Keep these tips in mind:
- Workspace Setup: Have a dedicated area set up for your projects, free from distractions.
- Parts Management: Keep wood pieces and tools clearly labeled and stored so you can easily find what you need.
- Clean as You Go: Regularly cleaning up can prevent accidents and make the process smoother.
Be Prepared for Challenges
Every DIY project comes with its own set of challenges. Here’s how to tackle them:
- Measurement Errors: Double-check all measurements to avoid cutting mistakes. It’s often said: “Measure twice, cut once.”
- Material Limitations: Understand the properties of the materials you’re working with, including how they expand, contract, or react to moisture.
- Time Management: DIY projects can take longer than expected. Plan accordingly, and be patient with the process.
Finish and Protect Your Work
Once your furniture is built, don’t overlook the critical step of finishing. Protect your work by:
- Applying a Sealant: This protects against moisture and ensures durability.
- Using Furniture Polish: To keep your surfaces shiny and looking new.
- Periodic Maintenance: Check joints and finishes regularly to keep your furniture in good condition.
Conclusion
Making your own furniture can be a gratifying experience that enriches your home and provides an outlet for creativity. By taking the time to plan, learn, and execute your projects meticulously, you can create beautiful, functional pieces that will serve you well for years to come. Happy building!
FAQ
What is the best type of wood for beginners?
Pine is often recommended for beginners due to its affordability and ease of working with. It’s soft and easy to cut, making it forgiving for new builders.
How much does DIY furniture cost compared to store-bought?
While DIY projects can be more affordable, the cost greatly depends on materials and tools. In some cases, building your own can save money, especially if you already own tools.
Can I find free plans for furniture online?
Yes, many websites offer free furniture plans, ranging from simple to complex projects. Just ensure the site is reputable and offers clear, detailed instructions.
How do I make sure my DIY furniture is sturdy?
Using quality materials, proper joinery methods, and thorough sanding will enhance the sturdiness of your piece. Always account for weight distribution in your design.
Is DIY furniture environmentally friendly?
DIY furniture can be eco-friendly if you use sustainable materials and finishes. Reclaimed wood projects can also contribute positively to the environment.