Home repairs can feel daunting, especially for those new to DIY projects. Whether you’re patching walls, fixing leaky faucets, or refreshing outdated fixtures, having the right knowledge and approach can turn any home repair into a manageable task. This article serves as a comprehensive guide that not only prepares you for common household repair challenges but also equips you with essential tips that will enhance your skills and confidence.
Preparing for Your DIY Projects
Like any successful endeavor, preparation is key in DIY home repairs. Before diving into a project, consider the following aspects:
Assess Your Skills
Understand your current skill level and identify areas where you may require assistance or further learning. This will help you choose the right projects to tackle. Start with small tasks before progressing to more complex repairs.
Gather the Right Tools
A well-stocked toolbox is essential. Some basic tools every homeowner should have include:
- Hammer
- Screwdriver set (flat and Phillips)
- Measuring tape
- Pliers (needle-nose and regular)
- Utility knife
- Level
- Drill
- Stud finder
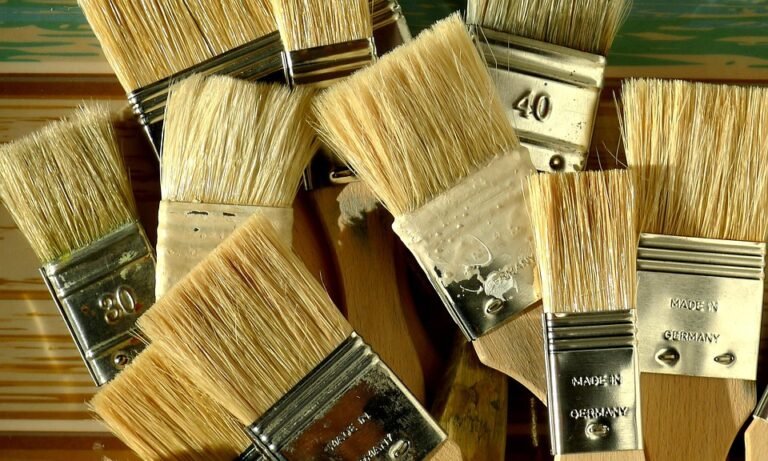
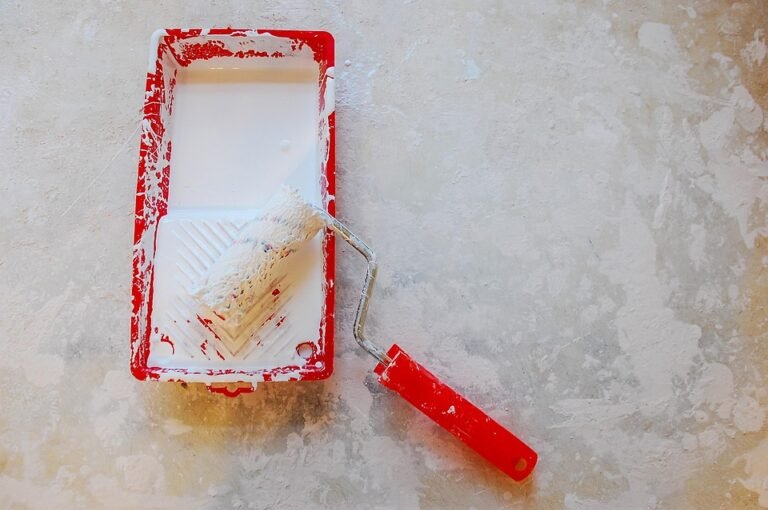
- Paintbrushes and rollers
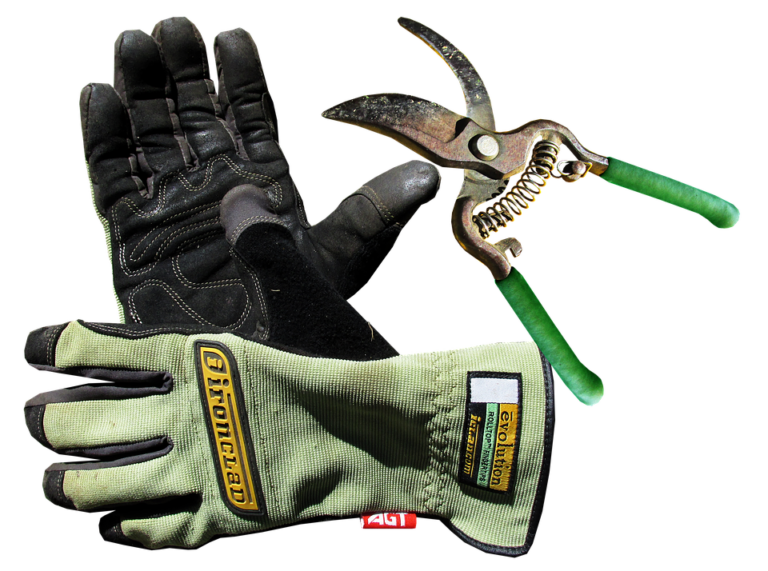
- Safety goggles and gloves
Common Repairs and How to Approach Them
Familiarity with common repair tasks can be empowering. Here are some pivotal aspects of a few frequent home repairs:
Fixing Leaky Faucets
Leaky faucets can waste significant amounts of water and increase your utility bills. Here’s how to address this issue:
- Turn off the water supply to the faucet.
- Remove the handle by loosening the screw (might be hidden under a decorative cap).
- Take off the packing nut and carefully pull out the cartridge or ball mechanism.
- Inspect for wear and replace the necessary parts (often rubber washers or O-rings).
- Reassemble the faucet in the reverse order, turn on the water supply, and check for leaks.
Patching Drywall Holes
Minor holes in drywall can easily be patched up with the right materials and techniques. Here’s a step-by-step guide:
- Clean the area around the hole to ensure proper adhesion.
- For small holes, apply a lightweight spackle with a putty knife, pressing it into the hole and smooth it out.
- For larger holes, you may need to use a mesh patch and then apply joint compound over it.
- Once dry, sand the area until smooth and paint over to match your wall.
Refreshing Cabinets with Paint
Painting cabinets can entirely transform your kitchen or bathroom without the need for a substantial investment. Follow these steps:
- Remove cabinet doors and hardware, and clean surfaces to remove grease and grime.
- Sand surfaces lightly to ensure better paint adhesion.
- Apply primer specifically designed for cabinets (optional but recommended).
- Choose a high-quality paint and apply evenly, using a brush or sprayer depending on preference.
- Allow sufficient drying time before reattaching doors and hardware.
Understanding Materials and Products
Choosing the right materials is crucial to the success of your repairs. Here’s a brief overview of common products:
Types of Paint
When selecting paint for home projects, consider:
- Latex Paint: Easy to clean and dries quickly, ideal for most interior walls.
- Oil-Based Paint: More durable, best for high-traffic areas but requires mineral spirits for cleanup.
- Chalk Paint: Great for furniture, offers a matte finish and requires little to no prep work.
Adhesives and Sealants
From wood glue to caulking, understanding the right adhesive can prevent future headaches:
- Wood Glue: Ideal for woodworking projects, provides a strong bond.
- Caulk: Used for sealing joints and cracks; silicone-based caulk is excellent for areas exposed to moisture.
- Construction Adhesive: Perfect for heavier materials, such as attaching fixtures or tiles.
Safety First: Essential Precautions
Even with DIY projects, safety should always be a priority. Adhere to these guidelines:
Wear Protective Gear
- Safety goggles to protect your eyes from dust and debris.
- Gloves to protect your hands from sharp edges and chemical exposure.
- A mask, especially if sanding or working with chemicals.
Work in a Ventilated Area
If you’re using strong-smelling products or chemicals, ensure good ventilation to avoid inhalation risks.
Know When to Call a Professional
Some repairs are beyond the typical DIYer’s skill set. Don’t hesitate to reach out to a licensed professional for:
- Major electrical work
- Plumbing issues involving significant alterations
- Roof repairs or replacements
Avoiding Common Mistakes
Every DIY enthusiast makes mistakes; however, awareness can minimize mishaps:
Overconfidence
Aim to strike a balance between challenging yourself and knowing your limits. Starting with simpler projects will build your confidence.
Neglecting Measurements
Always measure twice, cut once. Incorrect measurements can lead to wasted materials and additional costs.
Ignoring Manufacturer Instructions
Whether it’s assembling furniture or setting up fixtures, always consult product instructions to avoid unwanted errors.
Embracing the DIY Spirit
Every successful DIY project contributes to your home value and personal satisfaction. The more you practice, the more skilled and confident you’ll become. Use online resources, workshops, and local community events to continue learning and share experiences with other DIYers.
Conclusion
By arming yourself with proper knowledge and techniques, you can tackle countless household repairs and improvements confidently. Remember that every successful project reflects your skill and effort, enhancing your home and fulfilling your DIY spirit.
FAQs
What tools do I really need for basic home repairs?
A basic toolkit should include a hammer, screwdrivers, pliers, a measuring tape, a level, and a drill, along with safety gear like goggles and gloves.
Are there easy repairs I can do myself without prior experience?
Certainly! Tasks such as patching small holes in drywall, changing light bulbs, or painting a room are great starting points for beginners.
How can I ensure safe use of power tools?
Always read the user manual, wear safety gear, and maintain a clean workspace to minimize risks associated with power tool usage.
What are the signs that I should call a professional?
If you encounter complex plumbing issues, electrical problems, or structural wall repairs, it’s best to consult a professional for safety and accuracy.
Can I find DIY repair tutorials online?
Absolutely! There are numerous websites, video platforms, and forums where DIY enthusiasts share their experiences and tips for various repairs.