Are you tired of the outdated look of your kitchen cabinets but don’t want to spend a fortune on a full renovation? Painting your cabinets is an excellent way to refresh your space without breaking the bank. With the right tools and techniques, you can achieve a professional-looking finish yourself. In this guide, we’ll walk you through a simple DIY paint technique that can give your kitchen cabinets a stunning new look.
Understanding the Right Materials
Before diving into the painting project, it’s essential to gather the right materials that will help ensure a smooth and lasting finish. Here’s what you’ll need:
Essential Tools and Supplies
- Paint: Choose high-quality cabinet paint or chalk paint for durability.
- Primer: A bonding primer helps improve adhesion, especially on slick surfaces.
- Sandpaper: Use fine-grit sandpaper (220-grit) for surface preparation.
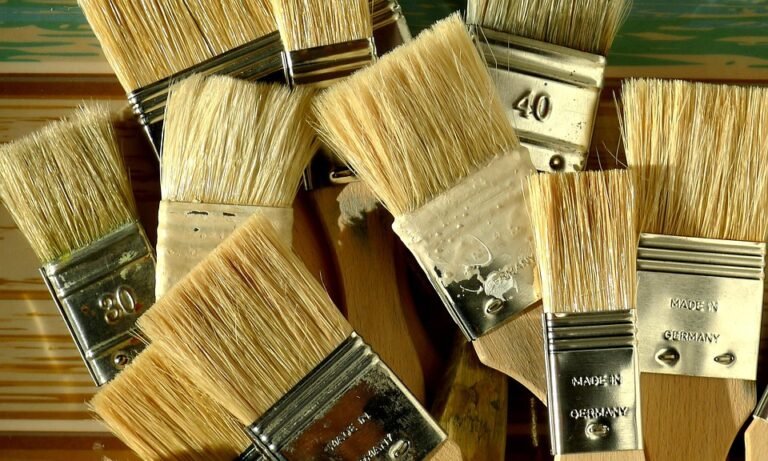
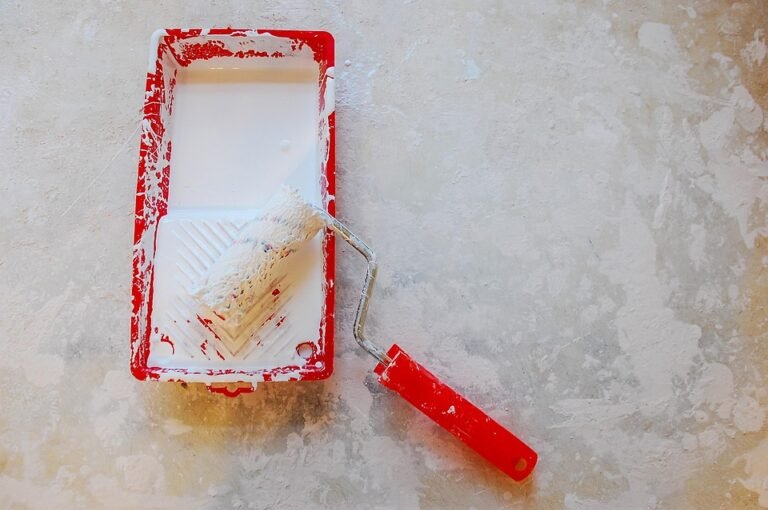
- Brushes and Rollers: A high-density foam roller for large areas and a smaller brush for corners and edges.
- Drop Cloths: Protect your floors and countertops from paint drips.
- Painter’s Tape: Ideal for masking off areas you don’t want to paint.
- Cleaning Supplies: Dish soap and water for cleaning cabinets before painting.
Preparation is Key
Proper preparation can make a significant difference in the outcome of your project. Here’s how to prepare your cabinets for painting:
1. Remove Cabinet Doors and Hardware
Start by taking off the cabinet doors and drawers. Make sure to label each piece and its corresponding hardware to simplify reinstallation later. Using a screwdriver or drill makes this task straightforward.
2. Clean the Surfaces
Use a mixture of warm water and dish soap to clean the surfaces of the cabinets. This step is vital for removing grease and dirt that could interfere with the paint adhering properly.
3. Sand the Surfaces
Lightly sand the cabinet surfaces to create a smooth texture and help the paint stick better. Be cautious not to sand too deeply, especially if the cabinets have a veneer.
4. Wipe Down the Surfaces
After sanding, wipe down the surfaces with a damp cloth to remove any dust. Allow them to dry completely before moving on to priming.
Applying Primer
Applying primer is a crucial step that can greatly enhance the durability and finish of your paint. Here’s how to do it effectively:
1. Choose the Right Primer
A bonding primer specifically formulated for cabinets or furniture will yield the best results, especially on surfaces that are previously finished or glossy.
2. Application Technique
Using a high-density foam roller, apply the primer evenly over the cabinet surfaces. Use a brush for corners and intricate details. Apply a thin coat to avoid drips and ensure a smooth finish.
3. Let it Dry
Follow the manufacturer’s instructions regarding drying time. Typically, allow at least 1 to 2 hours for the primer to dry.
Painting Your Cabinets
Now comes the fun part: applying the paint! Here’s how to achieve a seamless finish:
1. Select Your Paint Color
Choose a color that complements your kitchen decor. Neutral tones like white, gray, or beige can offer a clean and modern look, while bold colors can add a touch of personality.
2. Use the Right Technique
Similar to the primer, apply the paint with a foam roller for larger surfaces and a brush for edges and corners. Work in small sections to ensure even coverage and avoid lap marks.
3. Multiple Coats
Most cabinets will require at least two coats of paint. Allow adequate drying time between coats, usually around 4 to 6 hours, to avoid smudges and uneven texture.
Finishing Touches
Once the final coat has dried, it’s time for the finishing touches that will bring your cabinets back to life:
1. Reattach Hardware and Doors
Carefully reattach your cabinet doors and any hardware. Use a level to ensure that everything aligns properly for a polished look.
2. Apply a Clear Coat (Optional)
If desired, you can protect your new finish with a clear topcoat, especially if you opted for chalk paint. This extra layer can enhance durability and make cleaning easier.
Common Mistakes to Avoid
Even with the best intentions, DIY painting projects can go awry. Here are some common pitfalls to be aware of:
- Skipping Preparation: Skimping on cleaning and sanding can lead to a poor finish.
- Poor Paint Selection: Not all paints are suitable for cabinets. Choose wisely based on durability and finish.
- Rushing the Process: Allow each layer to dry thoroughly before moving to the next, as impatience can ruin your hard work.
- Not Ventilating: Ensure proper ventilation when painting to avoid inhaling fumes and speeding up drying times.
Conclusion
Refreshing your kitchen cabinets with paint can breathe new life into your home. By following the steps outlined in this guide, you can achieve a professional-looking finish without the hefty price tag of a full renovation. With patience and attention to detail, your kitchen can become the heart of your home again, showcasing a look that is both stylish and functional.
Frequently Asked Questions
What type of paint is best for kitchen cabinets?
High-quality cabinet paint or chalk paint is recommended for durability and a smooth finish. Look for products specifically designed for cabinetry.
Do I need to sand my cabinets before painting?
Yes, lightly sanding helps improve adhesion and creates a smooth surface for the paint. It’s an essential step for achieving the best results.
How long will the paint last on my cabinets?
With proper preparation and application, painted cabinets can last 5-10 years or even longer. Regular cleaning and maintaining the finish will help extend their lifespan.
Can I use spray paint on kitchen cabinets?
While spray paint can be an option, it requires careful technique and may not yield the same level of control and finish quality compared to brushing and rolling.
What’s the best way to clean painted cabinets?
Use a soft cloth with warm water and mild soap. Avoid abrasive cleaners that can damage the paint finish.